Creating a Smartform for displaying multiple line items using TABLE
SmartForm Using Table
SAP ABAP Interview Questions – Real Time
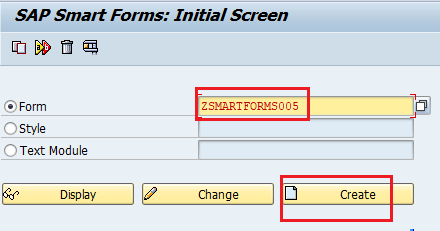
Step 1: Go to T-code “SMARTFORMS” enter the form name and click on Create.
Step 2: In Form Attributes, enter the description of the form.

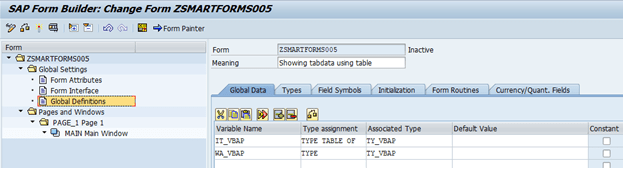
Step 3: Now double click on Global Definitions on the left panel, click on Global Data Tab and enter the variable names with their respective types.
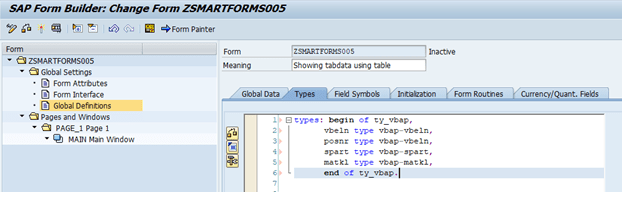
Step 4: Now click on the Types tab and create a user-defined structure of table VBAP.
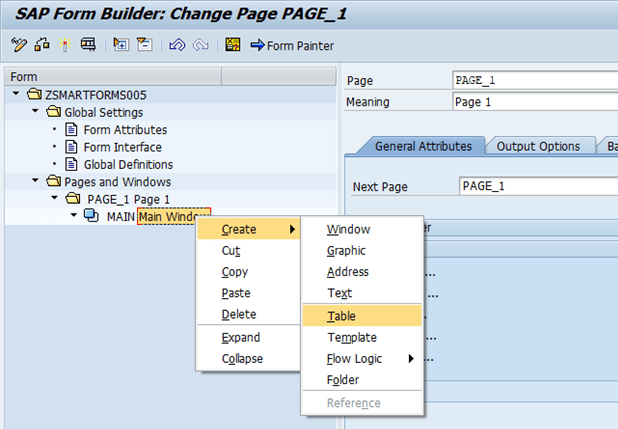
Step 5: Now double click on Page and change the Page name and description. Right-click on Main Window and create a table.
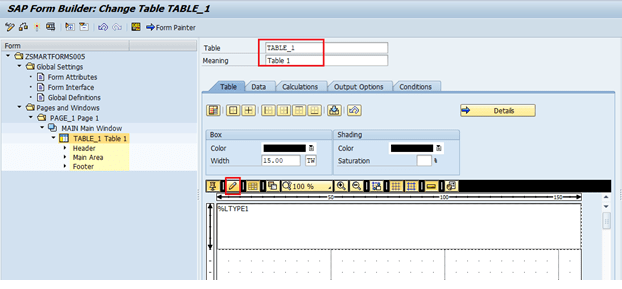
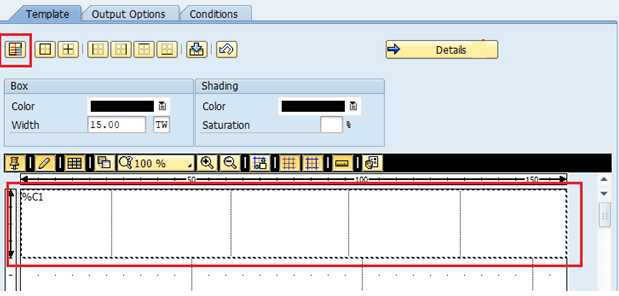
Step 6: Double click on the table. Change the name of the table and description. Click on the Pencil icon and draw a number of columns in %C1.
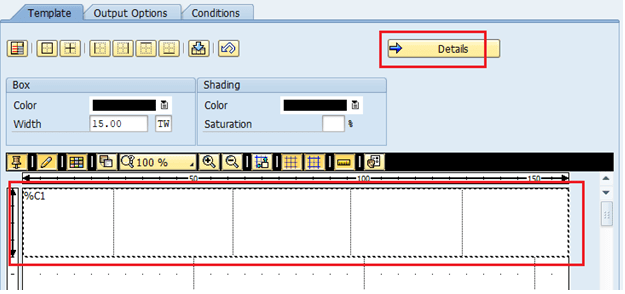
Step 7: After creating a number of columns, click on the Details button.
Step 8: Now here adjust the height and width of the column according to your convenience.
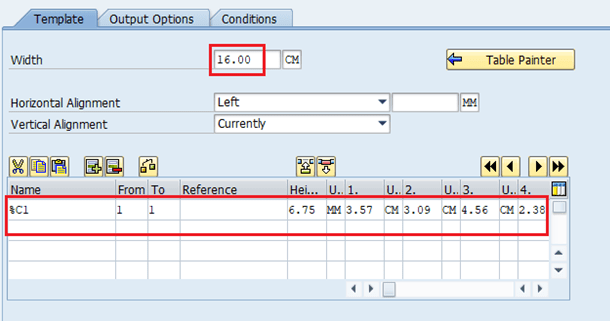
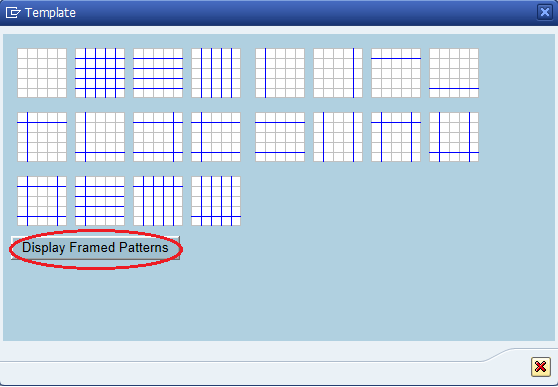
Step 9: After adjusting columns click on the Table Painter button to come back. Now click on the button “Select Pattern..”.
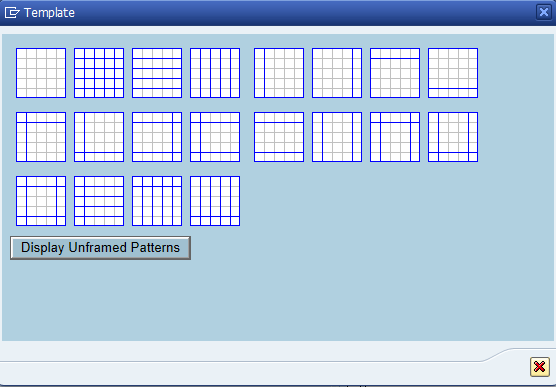
Step 10: A pop-up will display and select a pattern of the template without the border if you want to select a pattern with a border click on Display Framed Pattern.
Step 11: Four Columns are created below. Notice the name of the line as “%LTYPE1”, you can rename of line type by right-clicking – > Rename. But for now, we are not changing it as we are using only 1 Line now.
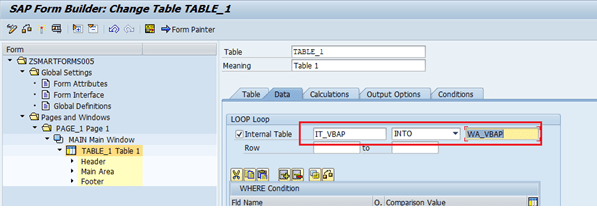
Now click on Data Tab.
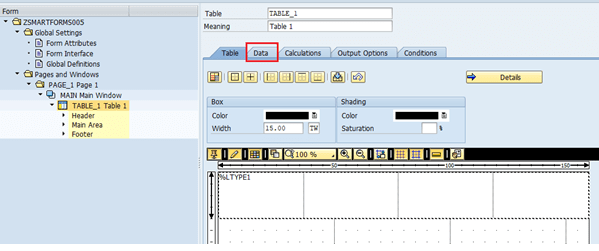
Step 12: In-Loop assign internal table and work area which were declared above.
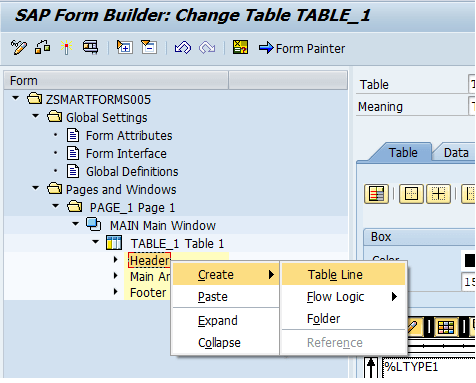
Step 13: Now right-click on Header under Table element and create table line.
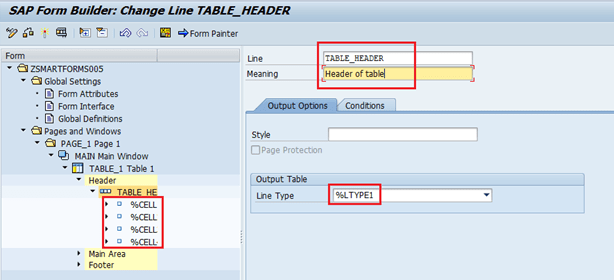
Step 14: Provide Line name and Line Heading as below. Give Line Type as the name of the line you gave while creating columns and press Enter, a number of columns will be displayed uniquely.
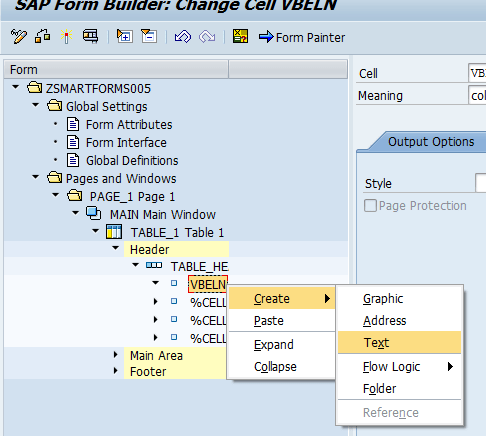
Step 15: Now you can rename it by double click on each column. Enter the text by: Right-click -> Create -> Text.
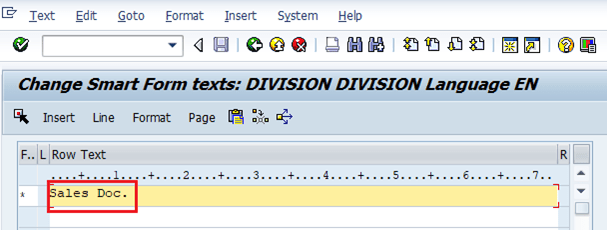
Step 16: Write the Column heading in Editor and save. Do the same process for every column under Heading.
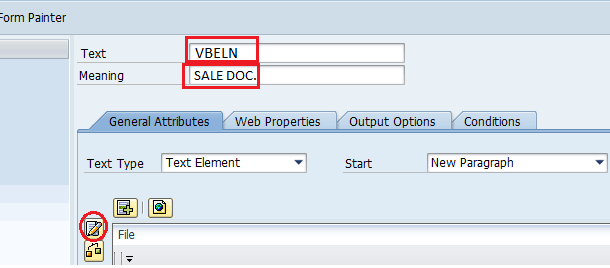
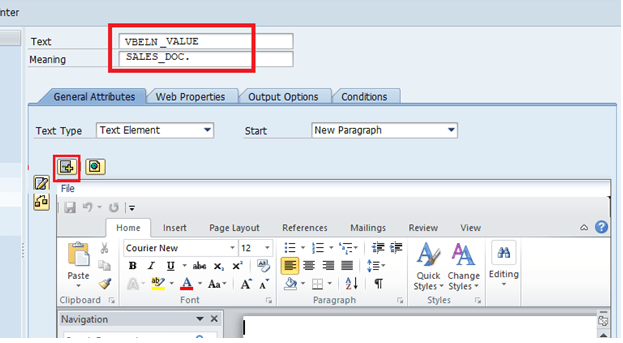
Step 17: Double click on Text and change its name and description and write the text in the Editor. Do the same thing and create four more texts under every column.
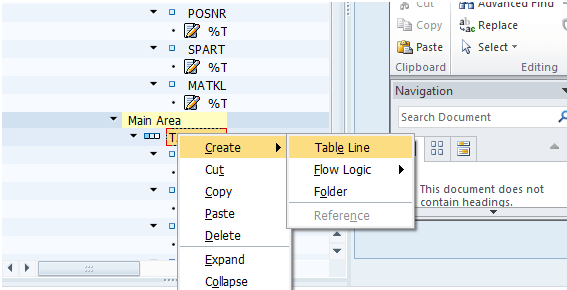
Step 18: Now Create the Table line in Main Area. Do the same as Heading.
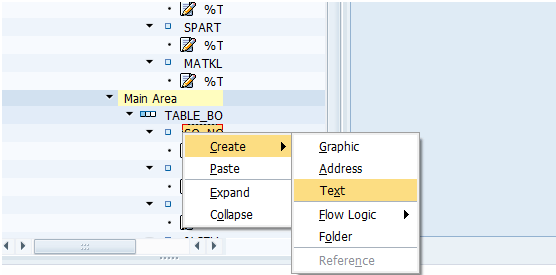
Step 19: Now double click on each column and rename it. Enter the text by: Right-click -> Create -> Text. Do this for every column.
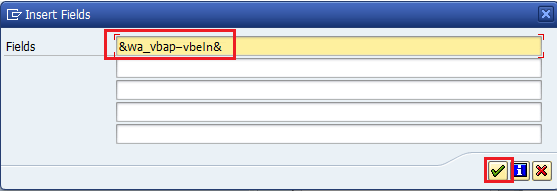
Step 20: Change the name and description of the Text. Click on the Insert Field button to enter the variable on the page.
Step 21: Enter the Work area and field as given below. Do the same step for the other 4 columns.
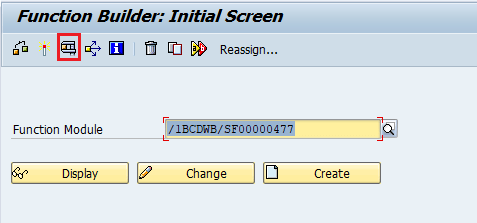
Step 22: Click on Save![]() button and activate
button and activate ![]() the Smartform. Click on the Test
the Smartform. Click on the Test ![]() button.
button.
Step 23: On the next screen again click on Test ![]() Button.
Button.
Step 24: Another screen will open and click on Execute![]() button.
button.
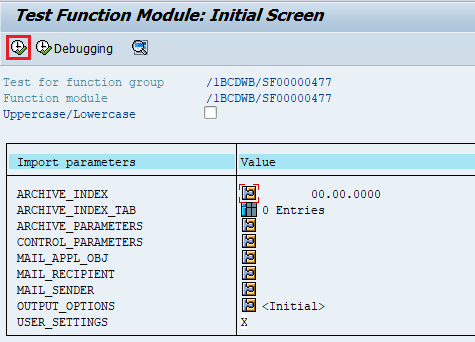
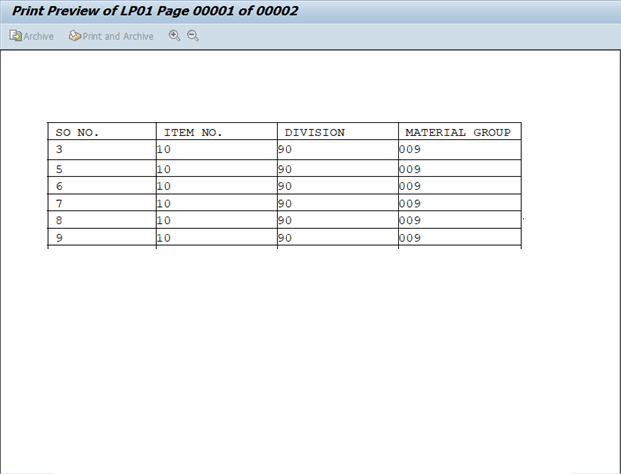
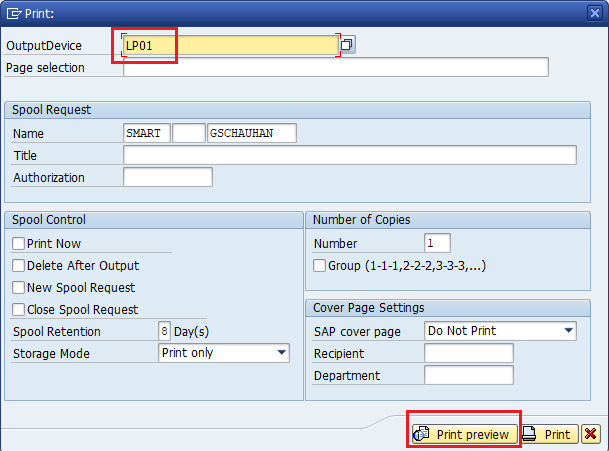
Step 25: On the next screen, give the Output Device name and click on the Print Preview button.
OUTPUT